
A properly inflated football is essential for a great game — whether you’re playing professionally, practicing, or just tossing the ball around for fun. Knowing how to inflate a football correctly ensures better performance, durability, and player safety.
In this complete guide, you’ll learn everything about inflating a football — from the tools you need, the ideal air pressure, and step-by-step methods to avoid overinflation or valve damage.
Why Proper Inflation Matters
A football that’s inflated to the correct pressure feels firm, flies straight, and bounces predictably. When it’s too soft or too hard, it can affect the game in many ways.
Here’s why proper inflation is important:
Accuracy: A well-inflated football travels straighter and farther.
Grip & Control: The ball is easier to handle and throw.
Safety: Prevents injuries to fingers and hands during catching or throwing.
Durability: Correct air pressure helps maintain the ball’s shape and extends its life.
For example, in the NFL, footballs must be inflated between 12.5 and 13.5 psi (pounds per square inch) — this ensures consistent performance on the field.
What You’ll Need to Inflate a Football
Before you start inflating, make sure you have the right equipment:
Air Pump: A manual hand pump or electric air pump.
Inflation Needle: Designed specifically for sports balls.
Pressure Gauge: To measure the correct PSI.
Lubricant (Optional): Water or petroleum jelly to protect the valve.
Clean Cloth: To wipe off dirt before and after inflation.
These items are inexpensive and available at any sporting goods store or online.
Step-by-Step Guide: How to Inflate a Football
Follow these steps carefully to ensure your football reaches the correct air pressure without any damage.
Step 1: Check the Football’s Recommended PSI
Every football comes with an inflation guideline, usually printed near the valve or on the packaging.
NFL / Official Size: 12.5 – 13.5 psi
Youth Footballs: 10 – 12 psi
Junior Footballs: 7 – 9 psi
Always follow these recommendations — too much air can stretch or split the bladder inside, while too little makes the ball feel flat and hard to throw.
Step 2: Moisten the Needle and Valve
Before inserting the inflation needle, dip it lightly in water or apply a small amount of petroleum jelly.
This prevents:
Valve damage
Air leaks
Friction that can tear the inner lining
Never insert a dry needle — it can permanently damage your football’s valve.
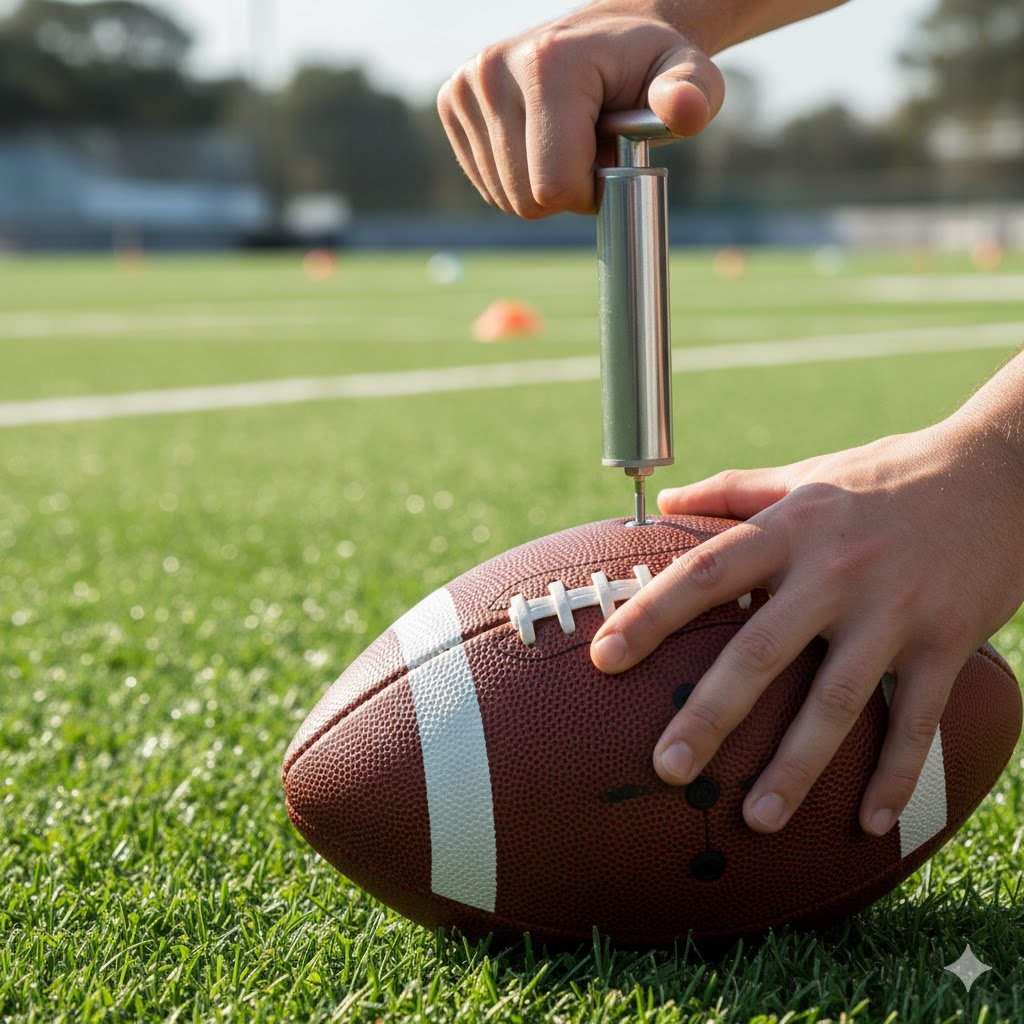
Step 3: Insert the Needle Gently
Locate the air valve, usually a small black hole near the laces.
Insert the needle straight in — not at an angle — to avoid puncturing the bladder.
Push slowly until the needle is fully inserted into the valve. Avoid forcing it in if you feel resistance.
Step 4: Begin Pumping Air
Now it’s time to inflate. Start by pumping air slowly, pausing occasionally to check the firmness.
If using a manual pump, use smooth, even strokes.
If using an electric pump, inflate in short bursts and monitor closely.
You’ll notice the ball start to firm up as the bladder fills with air.
Step 5: Check the Pressure Regularly
Stop periodically and check the air pressure using a pressure gauge.
Insert the gauge into the valve (after removing the needle) to get a reading.
Correct PSI Levels:
Official (NFL) football: 12.5–13.5 psi
College/High school: 12–13 psi
Youth/Junior: 10–12 psi
If you overinflate, gently press the valve with the needle tip to release small amounts of air.
Step 6: Test the Football by Feel
Even without a gauge, you can check the ball manually:
Press with your thumbs — it should feel firm but slightly compressible.
Drop the ball from shoulder height — it should bounce up about 2/3 of the distance.
If it feels rock hard, release some air. If it’s too soft, add a little more.
Step 7: Remove the Needle and Clean the Ball
Once the football reaches ideal pressure:
Remove the needle carefully.
Wipe the valve area clean with a dry cloth.
Store the football in a cool, dry place — away from direct sunlight or moisture.
Proper storage helps retain air longer and prevents the leather or composite material from cracking.
Common Mistakes to Avoid When Inflating a Football
Inflating a football is simple, but small errors can ruin your ball. Avoid these common mistakes:
Using the wrong needle size — it can damage the valve.
Overinflating — can stretch or burst the bladder.
Skipping lubrication — dry needles can rip the valve seal.
Using high-pressure air tanks — like those for car tires or air compressors.
Not checking pressure regularly — footballs lose air naturally over time.
A few seconds of care can save your football from long-term damage.
How Often Should You Reinflate a Football?
Football air pressure naturally decreases due to temperature changes and usage.
Regular Play: Check weekly and top up as needed.
Stored Indoors: Check every 2–3 weeks.
Outdoor Use: Temperature drops can reduce PSI, especially in cold weather.
Keeping your ball properly inflated ensures it’s always ready for a game or practice.
Pro Tips for Maintaining a Football
Want your football to last longer? Follow these quick maintenance tips:
Clean after every use — remove dirt and mud with a damp cloth.
Avoid direct sunlight — heat can weaken leather and valves.
Keep indoors — cold air causes pressure loss.
Deflate slightly for long storage — to reduce bladder stress.
Rotate your footballs — if you have multiple, use them alternately to prevent uneven wear.
How to Inflate a Football Without a Pump (Bonus Tip)
If you ever find yourself without a pump, don’t worry — there are creative ways to fill your football temporarily:
Use a balloon — transfer air from a balloon to the ball using a straw or needle.
Compressed air can — use small bursts to fill the ball.
Bicycle pump — with an adapter or needle.
However, these are temporary fixes — a proper pump is always best for consistent pressure.
Final Thoughts
Learning how to inflate a football is one of the simplest yet most important maintenance tasks for players and coaches alike. With the right tools, a little patience, and the correct PSI, you can ensure your football performs perfectly — every pass, kick, and catch.
Remember:
Always follow recommended PSI.
Use a moistened needle to avoid valve damage.
Check air pressure regularly.
With this guide, you’ll always have a perfectly inflated football — ready for your next game, practice, or tailgate toss!